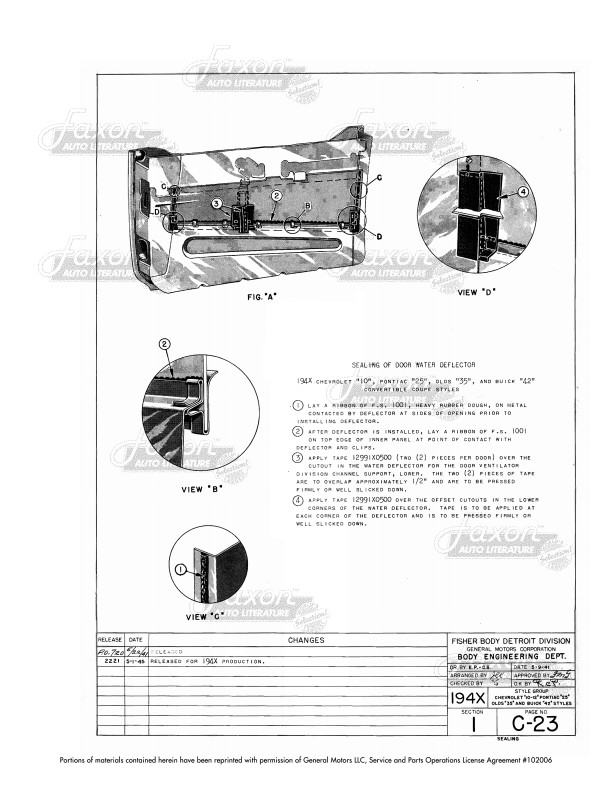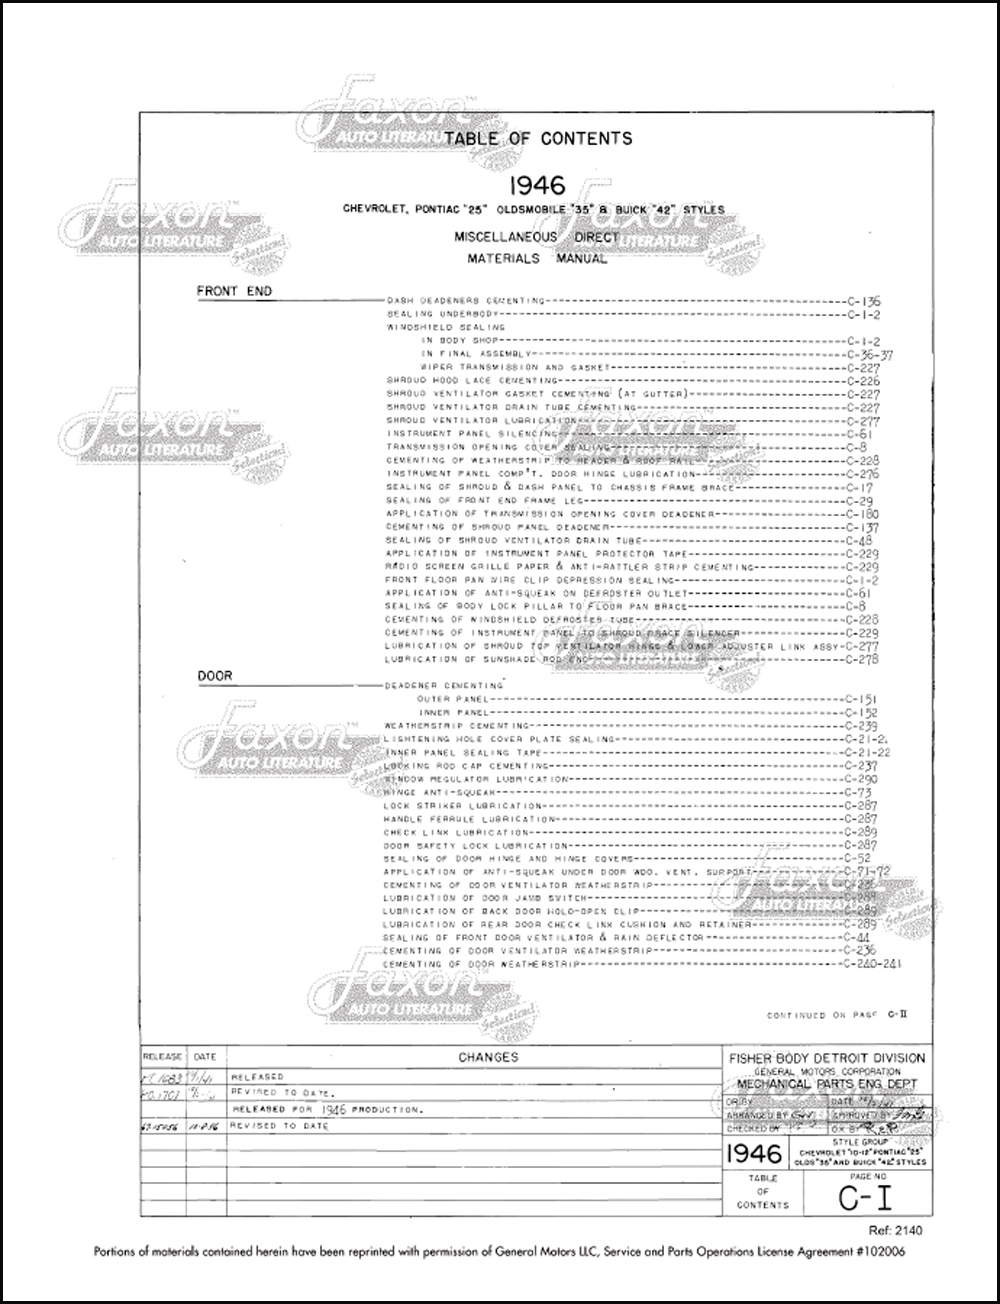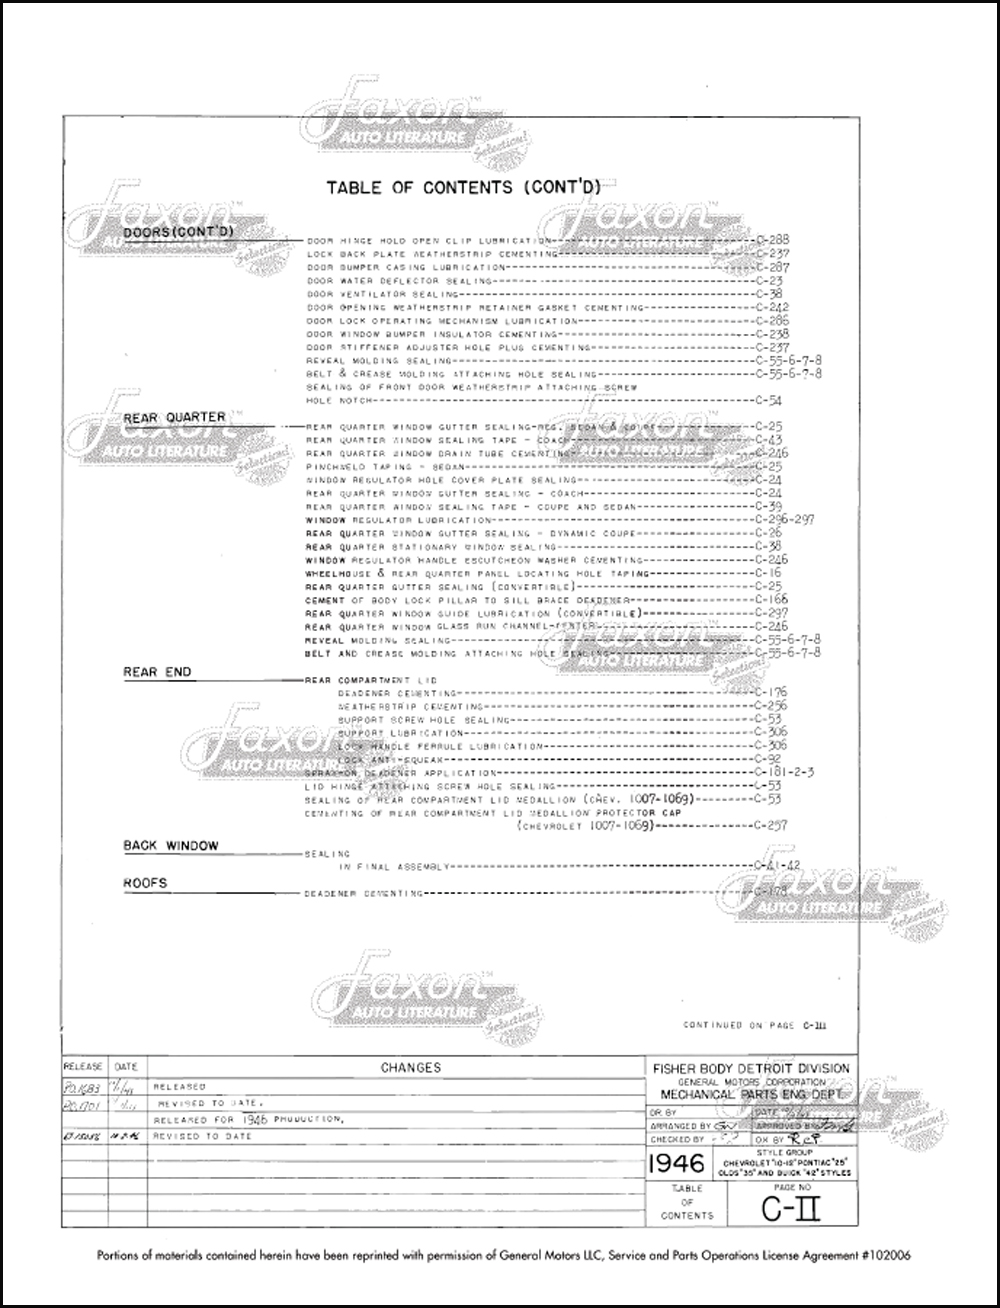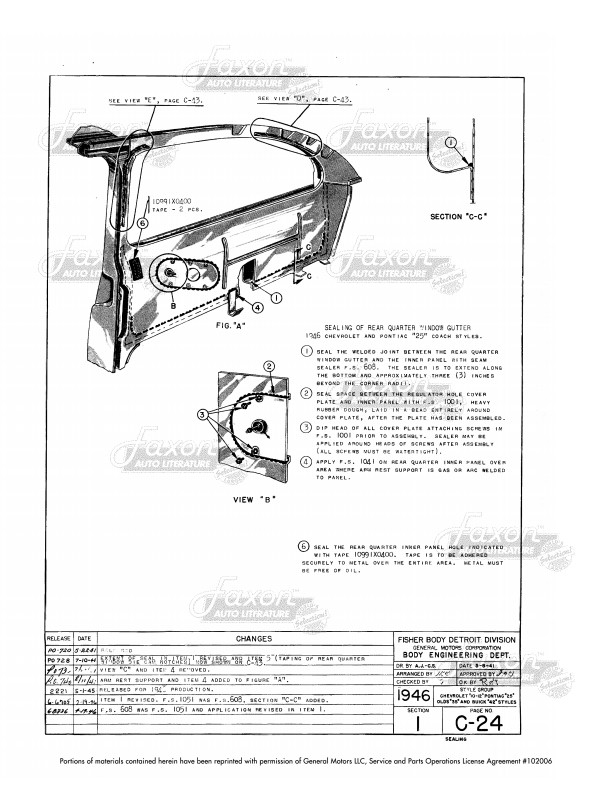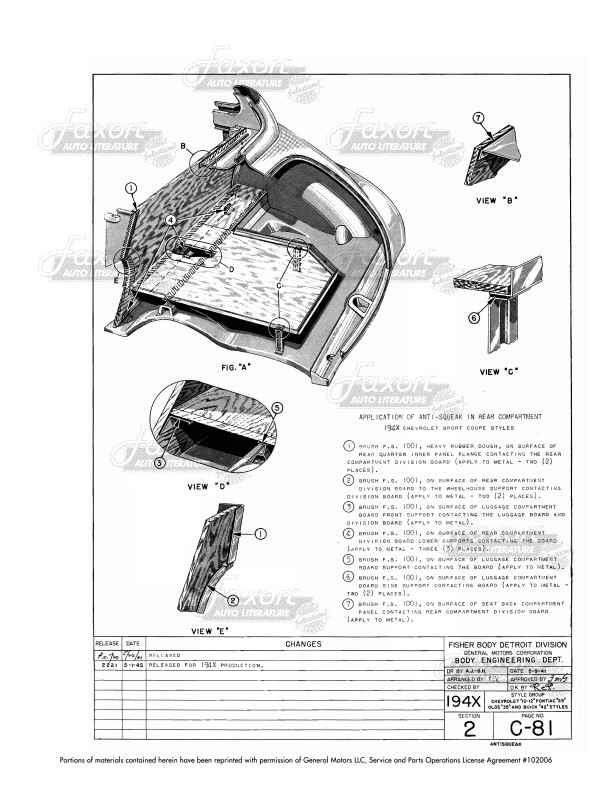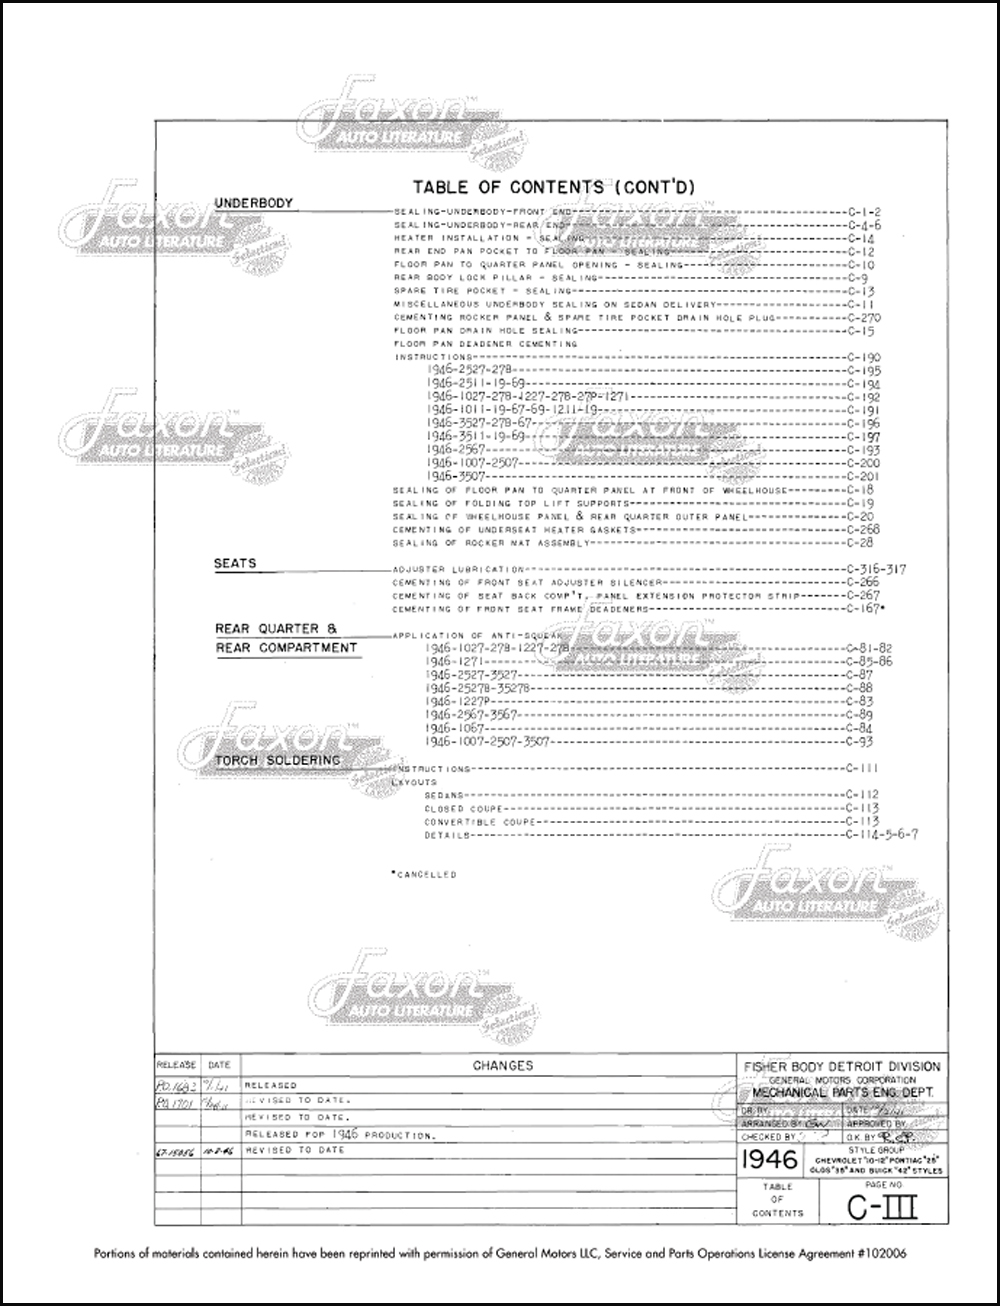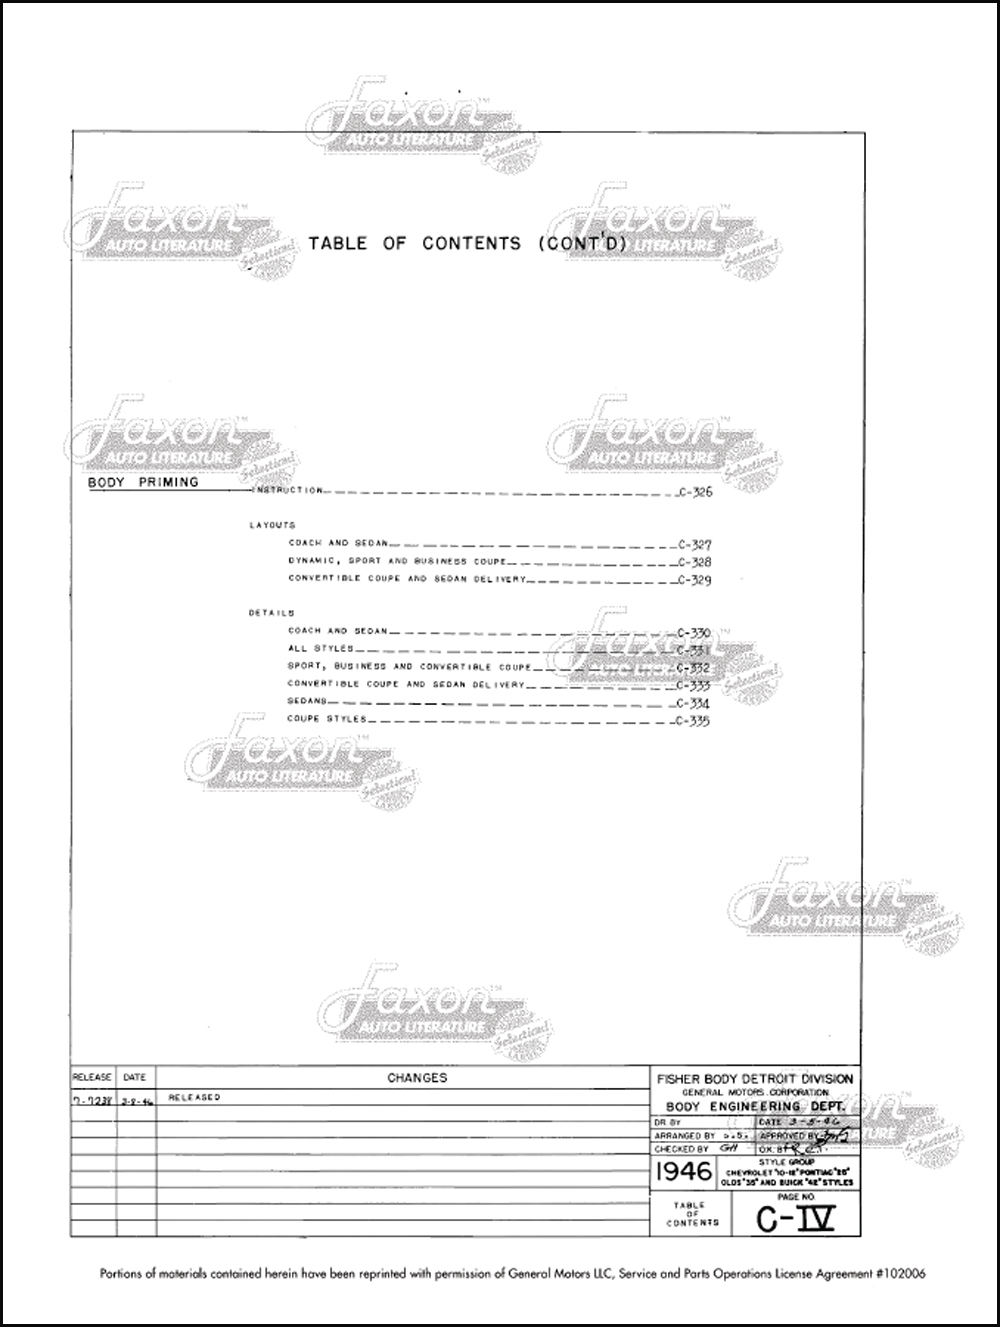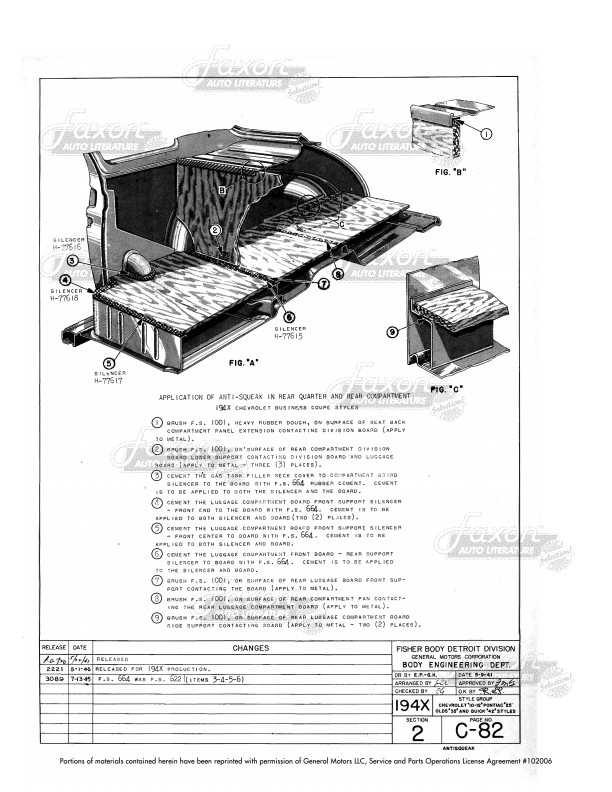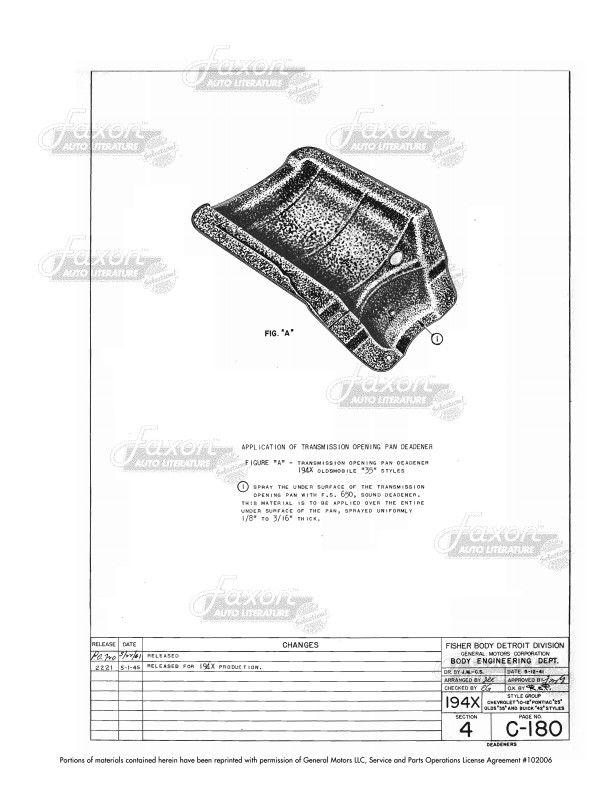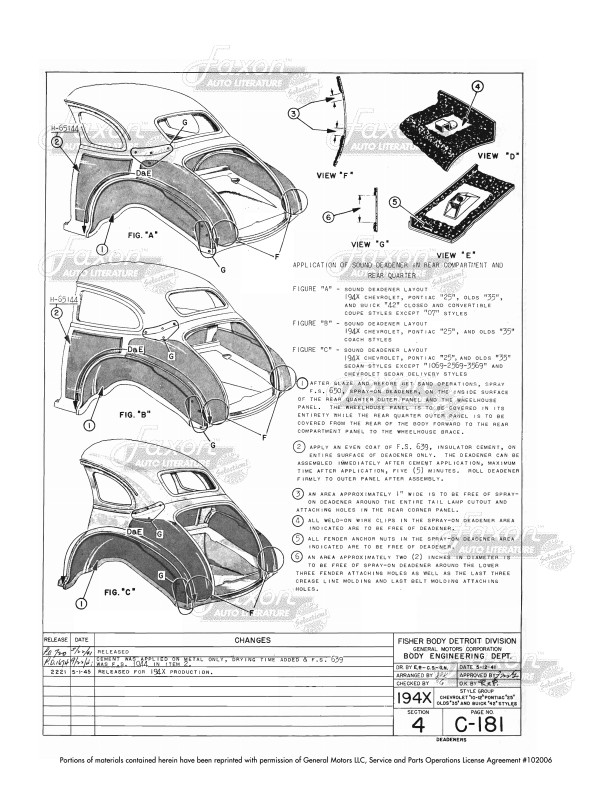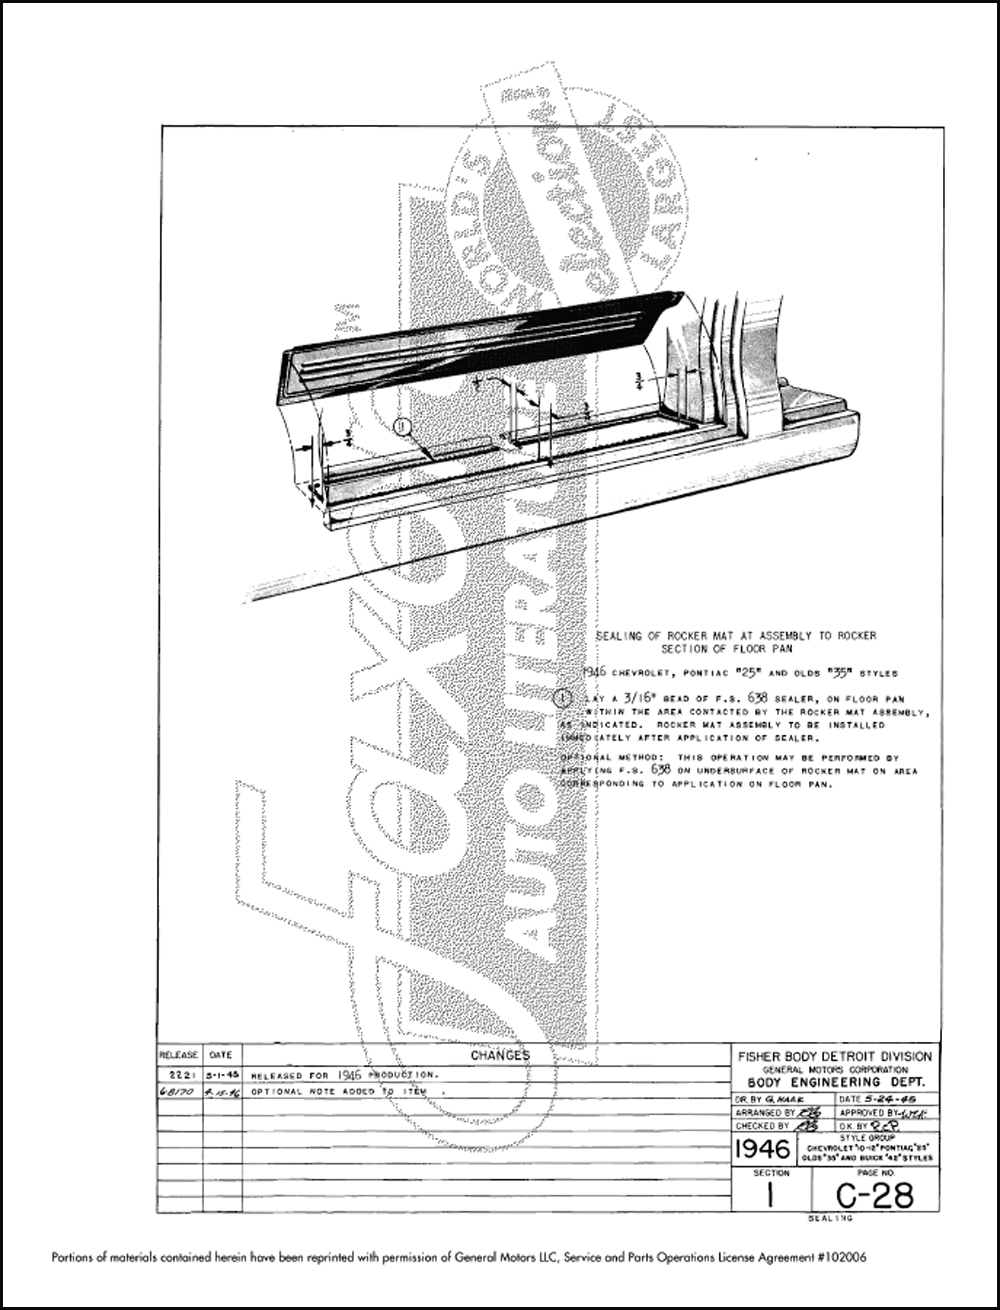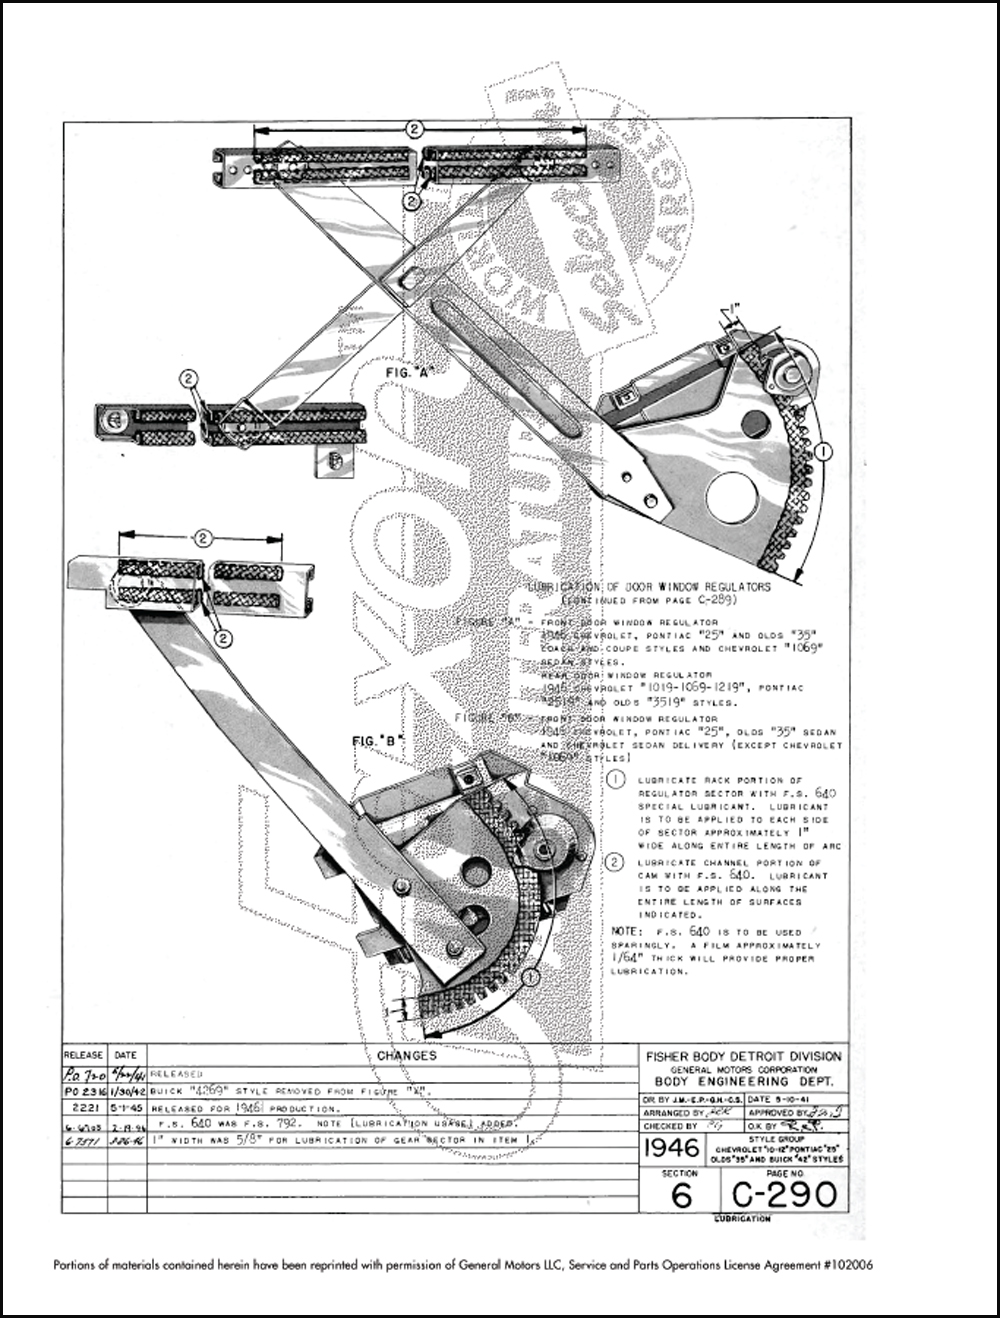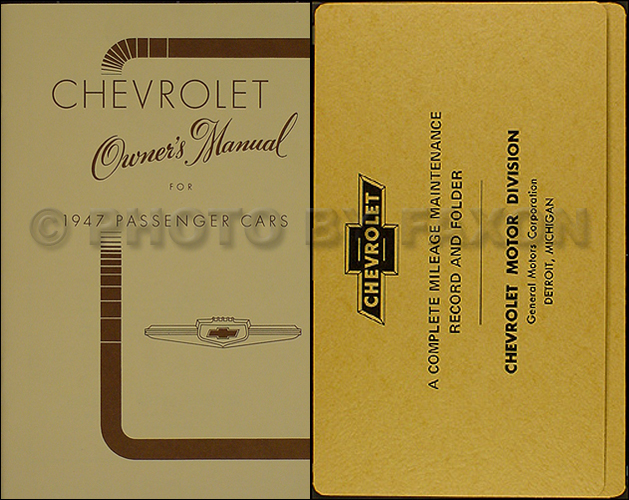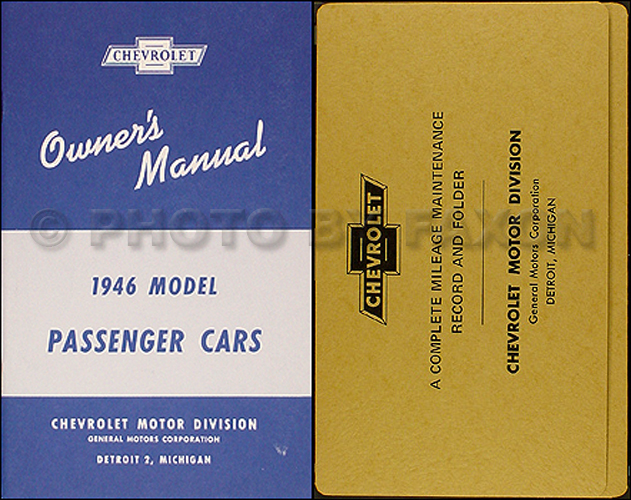
This book shows you how GM originally made your car watertight and sound proof. It’s a useful resource for keeping your car protected and comfortable today; these cars are old enough that many of the seals need replacing. It’s filled with cutaway illustrations of the body, including the metal and the wood. The manual shows you how to apply sealants (rubber cement, primer, rubber dough, solder, lubricants, and more) to the car; it does NOT focus on adding parts to the car.
Sealing and Cementing
See how door hinges and inner panels are made watertight and sound proof. Find out about sealing around glass and window gutters. See illustrations of how sealants are applied to weatherstripping on the door ventilator, door locks, doors, and trunk lid. Learn about applying sealant to underbody welds, joints/tabs, drains, exterior molding (belt, reveal, and crease), front end, and dash. See how the rear quarter panels are soldered where they are welded to the roof, as well as soldering for a few welded joints elsewhere.
Sound Deadeners and Antisqueak
The book shows you how to cement in sound deadeners for the dash, shroud, doors, trunk, roof, rear quarter, and floor. Find out how to prevent squeaks in the instrument panel, floor pan, under window ventilator support, door hinges, trunk/rear compartment, and rear quarter. You will see illustrated instructions for lubricating hinges and hardware including: door lock mechanism, door hinges, door hardware, window regulators, trunk lid hardware, shroud top ventilator hinge, glove box door hinge and spring, and seat adjusters.
These materials were applied to the body during assembly, so sometimes you will have to remove body parts to get to the places where the sealants go; you may need a body repair manual to show you how to do that for some of the more deeply buried parts.
Please see the sample pages. All pages are watermarked with a background image like the sample.
Buy now to find out how to keep the leaks and squeaks out of your car.

